As a homeowner, maintaining your property is important to protecting your investment. One area that is often overlooked is ensuring your garage door has a proper weather seal. Installing weather stripping on your garage door can help reduce energy loss from drafts and improve insulation. This easy, step-by-step guide will walk you through everything you need to know to install garage door weather stripping properly. You can complete this project with essential tools and materials in just a few hours.
Learn how to measure, cut, and affix the right type of stripping to block out moisture, dust, and insects. By sealing air leaks around your garage door with new weather stripping, you can increase energy efficiency and comfort in your home while enhancing curb appeal. Let’s get started on this straightforward DIY garage door repair project that can make a real difference.
Why Installing Garage Door Weather Stripping Is Important
Energy Efficiency
Installing weatherstripping around your garage door helps improve your garage’s energy efficiency. The weatherstripping seal gaps and cracks around the door to prevent air leaks. This helps keep heated or cooled air in the garage, reducing energy waste and lowering utility bills. According to the U.S. Department of Energy, adding weatherstripping around a garage door can improve its energy efficiency by up to 20 percent.
Durability
Weatherstripping also helps extend the lifespan of your garage door. The rubber, vinyl or metal strips seal out moisture, dirt, and debris that can damage the door over time. Preventing these elements from entering helps prevent rust, rot, and other deterioration that shortens the door’s helpful life. Properly installed weatherstripping can add many years of service to an older garage door.
Pest Control
The gaps and cracks around an unsealed garage door provide easy access for pests like rodents, insects, and birds. Weatherstripping eliminates access points for these unwelcome visitors, helping keep your garage pest-free. Mice and rats can enter through openings as small as 1/4 inch, so the flexible, adjustable strips are very effective for rodent control.
Noise Reduction
An unsealed garage door allows outside noise to enter the garage, and noise from within the garage to escape. Weatherstripping muffles these sounds by blocking gaps where noise can pass through. Adding weatherstripping is an easy way to make a garage quieter and more pleasant to work in.
Weatherstripping your garage door significantly benefits comfort, energy efficiency, durability, pest control, and noise reduction. For most homeowners, the small investment of time and money required to install weatherstripping yields substantial rewards.
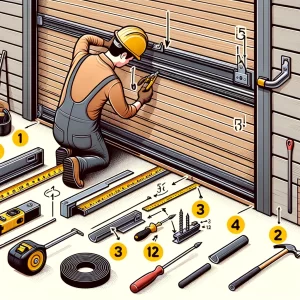
What You’ll Need to Install Garage Door Weather Stripping

Completing this critical DIY task requires the proper materials and tools. The necessary weather stripping product will depend on the specific areas you want to seal and insulate. For most garage doors, a combination of door bottom seals, side seals, and top seals is needed.
Door Bottom Seal
The door bottom seal attaches along the bottom edge to block air, moisture, and pests from entering under the door. You will need a door bottom or threshold seal and a tape measure to determine the required length. Additional items include a utility knife, caulk or weatherstripping adhesive, and a roller to secure the seal.
Side Seals
You will want adhesive-backed door seals or door sweeps for the sides of the door. Measure the height of your door to determine how much you will need. You will also require weatherstripping adhesive, caulk, or double-sided tape to attach the side seals.
Top Seals
You will need header or door top seals to seal any gaps along the top of the door. Measure across the top of the door to determine the length. You will also require a tape measure, utility knife, caulk, or weatherstripping adhesive.
With the necessary materials and tools, you can install the weatherstripping and seal up those unwanted cracks and gaps around your garage door. Completing this task can improve the insulation, increase energy efficiency, and ensure your garage remains a comfortable workspace.
Step-by-Step Guide to Installing Garage Door Weather Stripping
Here’s a step-by-step guide on how to install garage door weather stripping:
Materials Needed:
- Garage door weather stripping kit
- Measuring tape
- Scissors or utility knife
- Cleaning cloth
- Adhesive (if not included with the kit)
- Screws and screwdriver (if required by the kit)
Steps:
1. Prepare the Door:
Open the garage door to provide easy access. Clean the edges of the garage door where the weather stripping will be applied. Use a damp cloth to remove dirt or debris and allow it to dry completely.
2. Measure the Door:
Measure the length of the garage door’s sides and bottom. Ensure you measure accurately to get the right length of weather stripping.
3. Cut the Weather Stripping:
Using your measurements, cut the weather stripping to the correct lengths for the sides and bottom of the door. Use a pair of scissors or a utility knife for clean cuts.
4. Install the Bottom Weather Stripping:
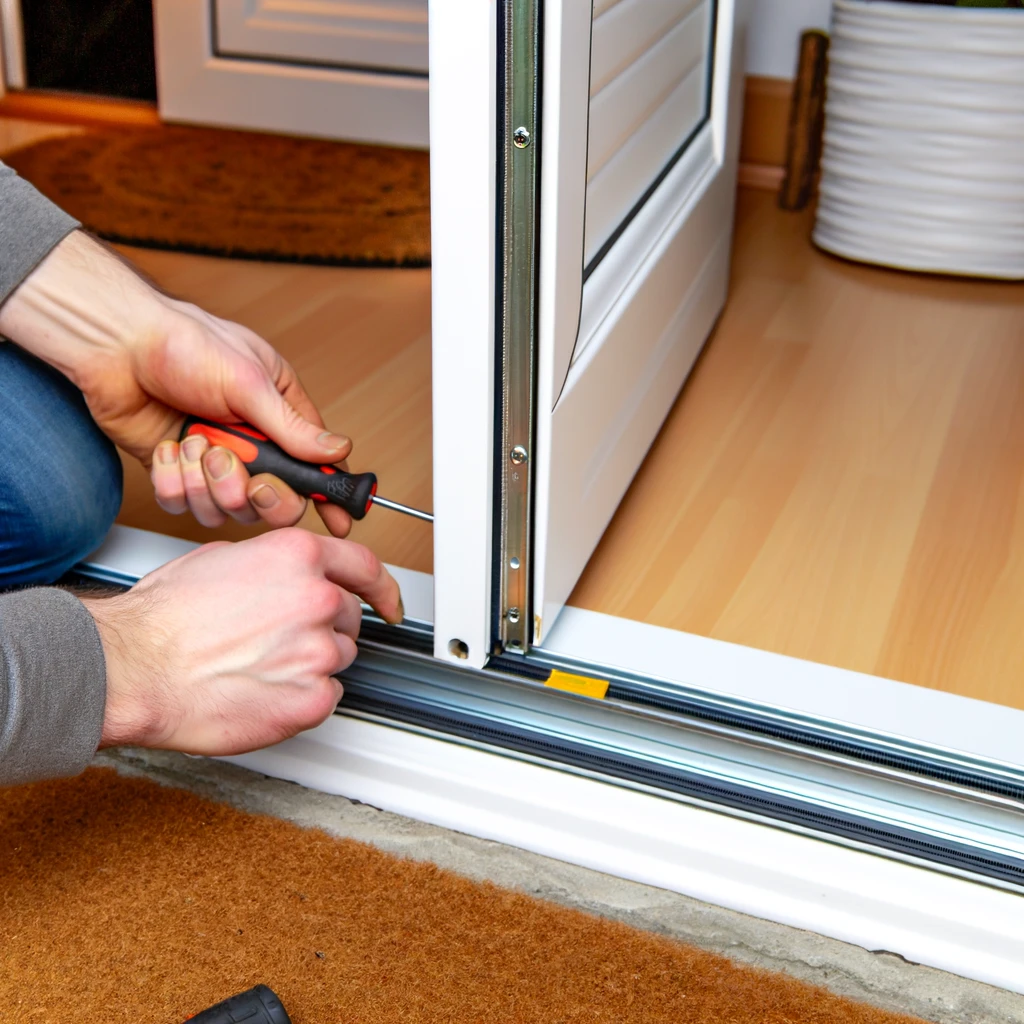
If the bottom weather stripping has an adhesive backing, peel off the protective layer and press it firmly onto the bottom edge of the garage door. Start at one end and work your way to the other, pressing firmly to ensure a good seal. If screws are required, align the weather stripping and attach it using the screws and a screwdriver. Ensure it’s securely fastened and forms a tight seal.
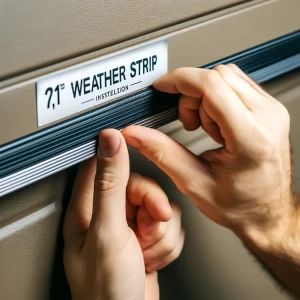
5. Install the Side Weather Stripping:
Start with one side of the door. If it has an adhesive backing, peel off the protective layer and press it firmly along the edge of the door frame from top to bottom.
If screws are required, align the weather stripping along the door frame and attach it using the screws. Ensure it’s securely fastened and forms a tight seal.
Repeat the process for the other side of the door.
6. Check the Seal:
Close the garage door and check the seal. The weather stripping should press against the garage floor and sides of the door frame without any gaps.
Adjust if necessary to ensure a tight seal.
7. Final Adjustments:
Ensure the weather stripping fits snugly and forms an effective seal against the elements by making any necessary adjustments.
Trim any excess weather stripping if needed.
Tips:
- Ensure the weather stripping is installed evenly to avoid gaps.
- Regularly check the weather stripping for wear and tear and replace it as needed to maintain an effective seal.
Following these steps, you can effectively install weather stripping on your garage door, helping to keep out drafts, pests, and moisture.
Tips for Getting a Tight Seal With Your New Weather-Stripping
Several best practices should be followed to ensure that your newly installed garage door weather stripping creates an effective barrier against the elements.
Prepare the surface: Clean the area where you will apply the weather stripping to remove any dirt or debris. Wipe away grease, oil, or grime using a degreaser or rubbing alcohol. A clean surface will allow for the best adhesion.
Choose high-quality materials: For the most durable seal, select weather stripping made of vinyl, rubber, or silicone. These materials can stand up to temperature extremes better than foam. They are also less likely to crack or warp over time. Higher-density materials will last longer.
Apply firm, even pressure: As you install the weather stripping, press down firmly to secure it in place. Roll or smooth it with your hands to ensure even contact with the surface. The uneven or loose application will allow air and moisture to penetrate.
Seal all edges and seams: Close attention to edges, corners, and seams where separate pieces meet. These areas are most prone to air leaks, so take extra care to achieve an airtight seal. You may need to slightly overlap multiple pieces or use a caulk or sealant in some areas.
Inspect and test the installation: Once you have installed the weather stripping, scrutinize it to identify any gaps or weak points in the seal. Run your hands along the length of it to feel for uneven or loose areas. You can also test the effectiveness by sliding a piece of paper between the weather stripping and the surface. It should not go through easily. Make any necessary touch-ups to ensure all potential air leaks have been sealed.
Following these best practices will help you get the maximum benefit from your new garage door weather stripping. A well-installed, high-quality product can make a big difference in your garage space’s energy efficiency and comfort. By taking the time to do it right the first time, you can make a substantial difference in the long-term performance of your garage door repair.
Frequently Asked Questions
How do you put weather stripping on a garage door?
Clean the surface, measure and cut the weather stripping to fit, then attach it along the sides and top of the door using nails or screws.
How to install garage door floor seal?
Clean the floor, measure and cut the seal to fit the width of the door, apply adhesive to the bottom of the seal, and press it firmly onto the floor.
Do garage doors need weather stripping?
Yes, weather stripping helps seal gaps to prevent drafts, pests, and moisture from entering the garage.
How is weather stripping installed?
Measure and cut the weather stripping, then attach it to the door frame or door edges using adhesive, nails, or screws, ensuring a snug fit.
How do you install weather strips under a door?
Measure the door width, cut the weather strip to size, and attach it to the bottom of the door using adhesive or screws.
What do you use to attach weather stripping?
Weather stripping can be attached using adhesive, nails, screws, or a combination of these, depending on the type of weather stripping and the surface.
Conclusion
Investing in weather stripping for your garage door is a small investment that can lead to significant savings on your energy bills and increased comfort in your home. Not only does it help keep out unwanted elements like dust and insects, but it also improves the overall insulation of your garage.
At Perfect Solutions Garage Door, we understand the importance of maintaining your property and are here to help you every step of the way. If you find the installation process daunting or simply want professional results, our team of experts is ready to provide top-notch service. Don’t let drafts and pests compromise your home’s efficiency and comfort.
Contact Perfect Solutions Garage Door today and let us help you protect your investment with high-quality weather stripping installation.
End Note
At Perfect Solutions Garage Door, we are dedicated to providing exceptional garage door services tailored to meet all your needs. Our expert team is ready to assist with professional installation, reliable maintenance, and prompt repairs to ensure your garage door operates smoothly and efficiently.
Explore our comprehensive range of services and witness the quality of our work by visiting our Garage Door Services and Gallery pages. We proudly serve various locations, bringing top-tier services directly to your community. Check our Service Areas to see if we operate in your neighborhood.
Learn more about our mission, values, and unwavering dedication to customer satisfaction on our About Us page. Stay informed with the latest tips, trends, and insights on garage door repair and maintenance by following our Blog. Connect with us on Facebook for real-time updates, customer reviews, and engaging content.
We are here to provide the perfect solution for your garage door needs. Feel free to reach out through our Contact Us page! At Perfect Solutions Garage Door, your satisfaction is our top priority. Contact us today and experience the difference!