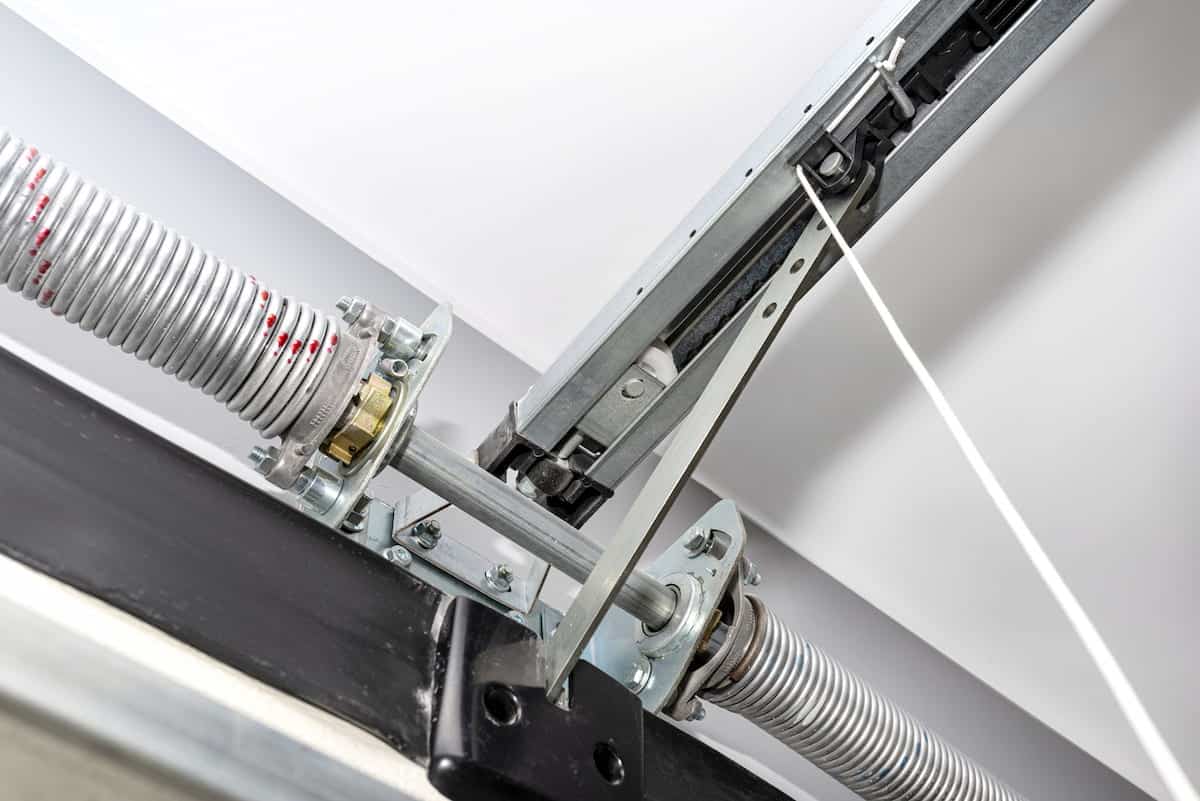
Garage door springs are integral components in the functionality of the garage door mechanisms. They bear an enormous amount of tension as they aid in the lifting and lowering of heavy garage doors, making their durability paramount to efficient operation. Over time, these robust components may fail due to natural wear and tear or sudden breakage, necessitating timely replacement to ensure the continued convenience and security provided by a fully functional garage door.
This article seeks to demystify the process involved in replacing these critical elements, providing expert advice and methods from seasoned professionals.
In pursuit of fostering a sense of community among DIY enthusiasts and experts alike, this discourse aims at creating a shared understanding on the intricacies surrounding spring replacements for garage doors. The subsequent sections will offer a comprehensive step-by-step guide that carefully illustrates each stage involved in spring replacement procedures.
By endowing readers with essential knowledge on this subject matter, it is anticipated that confidence levels will improve when undertaking similar tasks independently or offering informed input during professional engagements.
Understanding the Role of Springs in Door Mechanisms
In the intricate mechanism of garage doors, springs play a pivotal role by storing mechanical energy and facilitating smooth and efficient door movements. These components function under high tension, contracting when the door is closed and expanding as it is lifted. As such, they act as counterweights to the door’s bulk, lightening the load on the motor during operation. This balance between potential and kinetic energy within the spring system ensures that even heavy-duty garage doors open and close with relative ease.
Delving deeper into the specifics, there are two main types of garage door springs: torsion springs and extension springs. Torsion springs are typically mounted above the door and operate by twisting or torquing when force is applied. This action generates a countering force that assists in the lifting of the door. On other hand, extension springs are positioned along both sides of horizontal tracks; they expand and contract using principles of elastic potential energy to achieve similar outcomes as torsion springs. Understanding these differences can aid individuals in identifying which type their system utilizes.
While it might be tempting for some homeowners to replace these crucial parts independently in an attempt to save costs or time, it is important to note that due to their immense tension, handling them without professional guidance could potentially lead to serious injuries or damages. Hence, seeking advice from industry experts not only safeguards one’s safety but also extends longevity through proper installation techniques tailored specifically for each type of spring system used in garage doors around the world today.
Step-by-Step Guide to Spring Replacement
Delving into the detailed process of substituting coiled tension devices presents an engaging, yet challenging task requiring meticulous attention. Initiating the procedure necessitates ensuring that all required tools are prepared: locking pliers, winding bars, and a ladder.
Once these are accessible, it’s crucial to secure the door in its down position by using a piece of wood or similar object as a stopper under the door. The next step involves loosening and removing the springs which is carried out by first clamping one side with locking pliers and then unwinding it by introducing winding bars into the holes on its end.
Subsequently, once these initial steps have been successfully navigated, focus shifts to installing new springs. This stage begins with inserting one end of each spring onto their respective ends on the central rod. Attention must be paid to install them such that they coil upwards from beneath when viewed from behind. Once this has been achieved, cones at each end of both springs should be securely tightened onto the central rod after setting them against bearing plates at either end of this rod.
Ensuring safety during each step remains paramount; thus maintaining caution while handling coiled tension devices is essential due to their potential for causing injury if mishandled. After securing both springs onto the rod, they need to be wound up using winding bars until adequate tension is reached – typically when seven full turns have been made around each spring’s shaft.
The final part of this intricate operation involves reattaching cables connected to bottom brackets on either side of the door before testing its function post-replacement. To encapsulate it succinctly: replacing garage door springs demands diligence and precision but can contribute immeasurably towards improved functionality if carried out correctly.
https://perfectsolutionsgaragedoor.com/enhancing-door-performance-through-garage-door-springs-replacement/
https://perfectsolutionsgaragedoor.com/frequent-issues-with-garage-door-springs-and-how-to-address-them/


