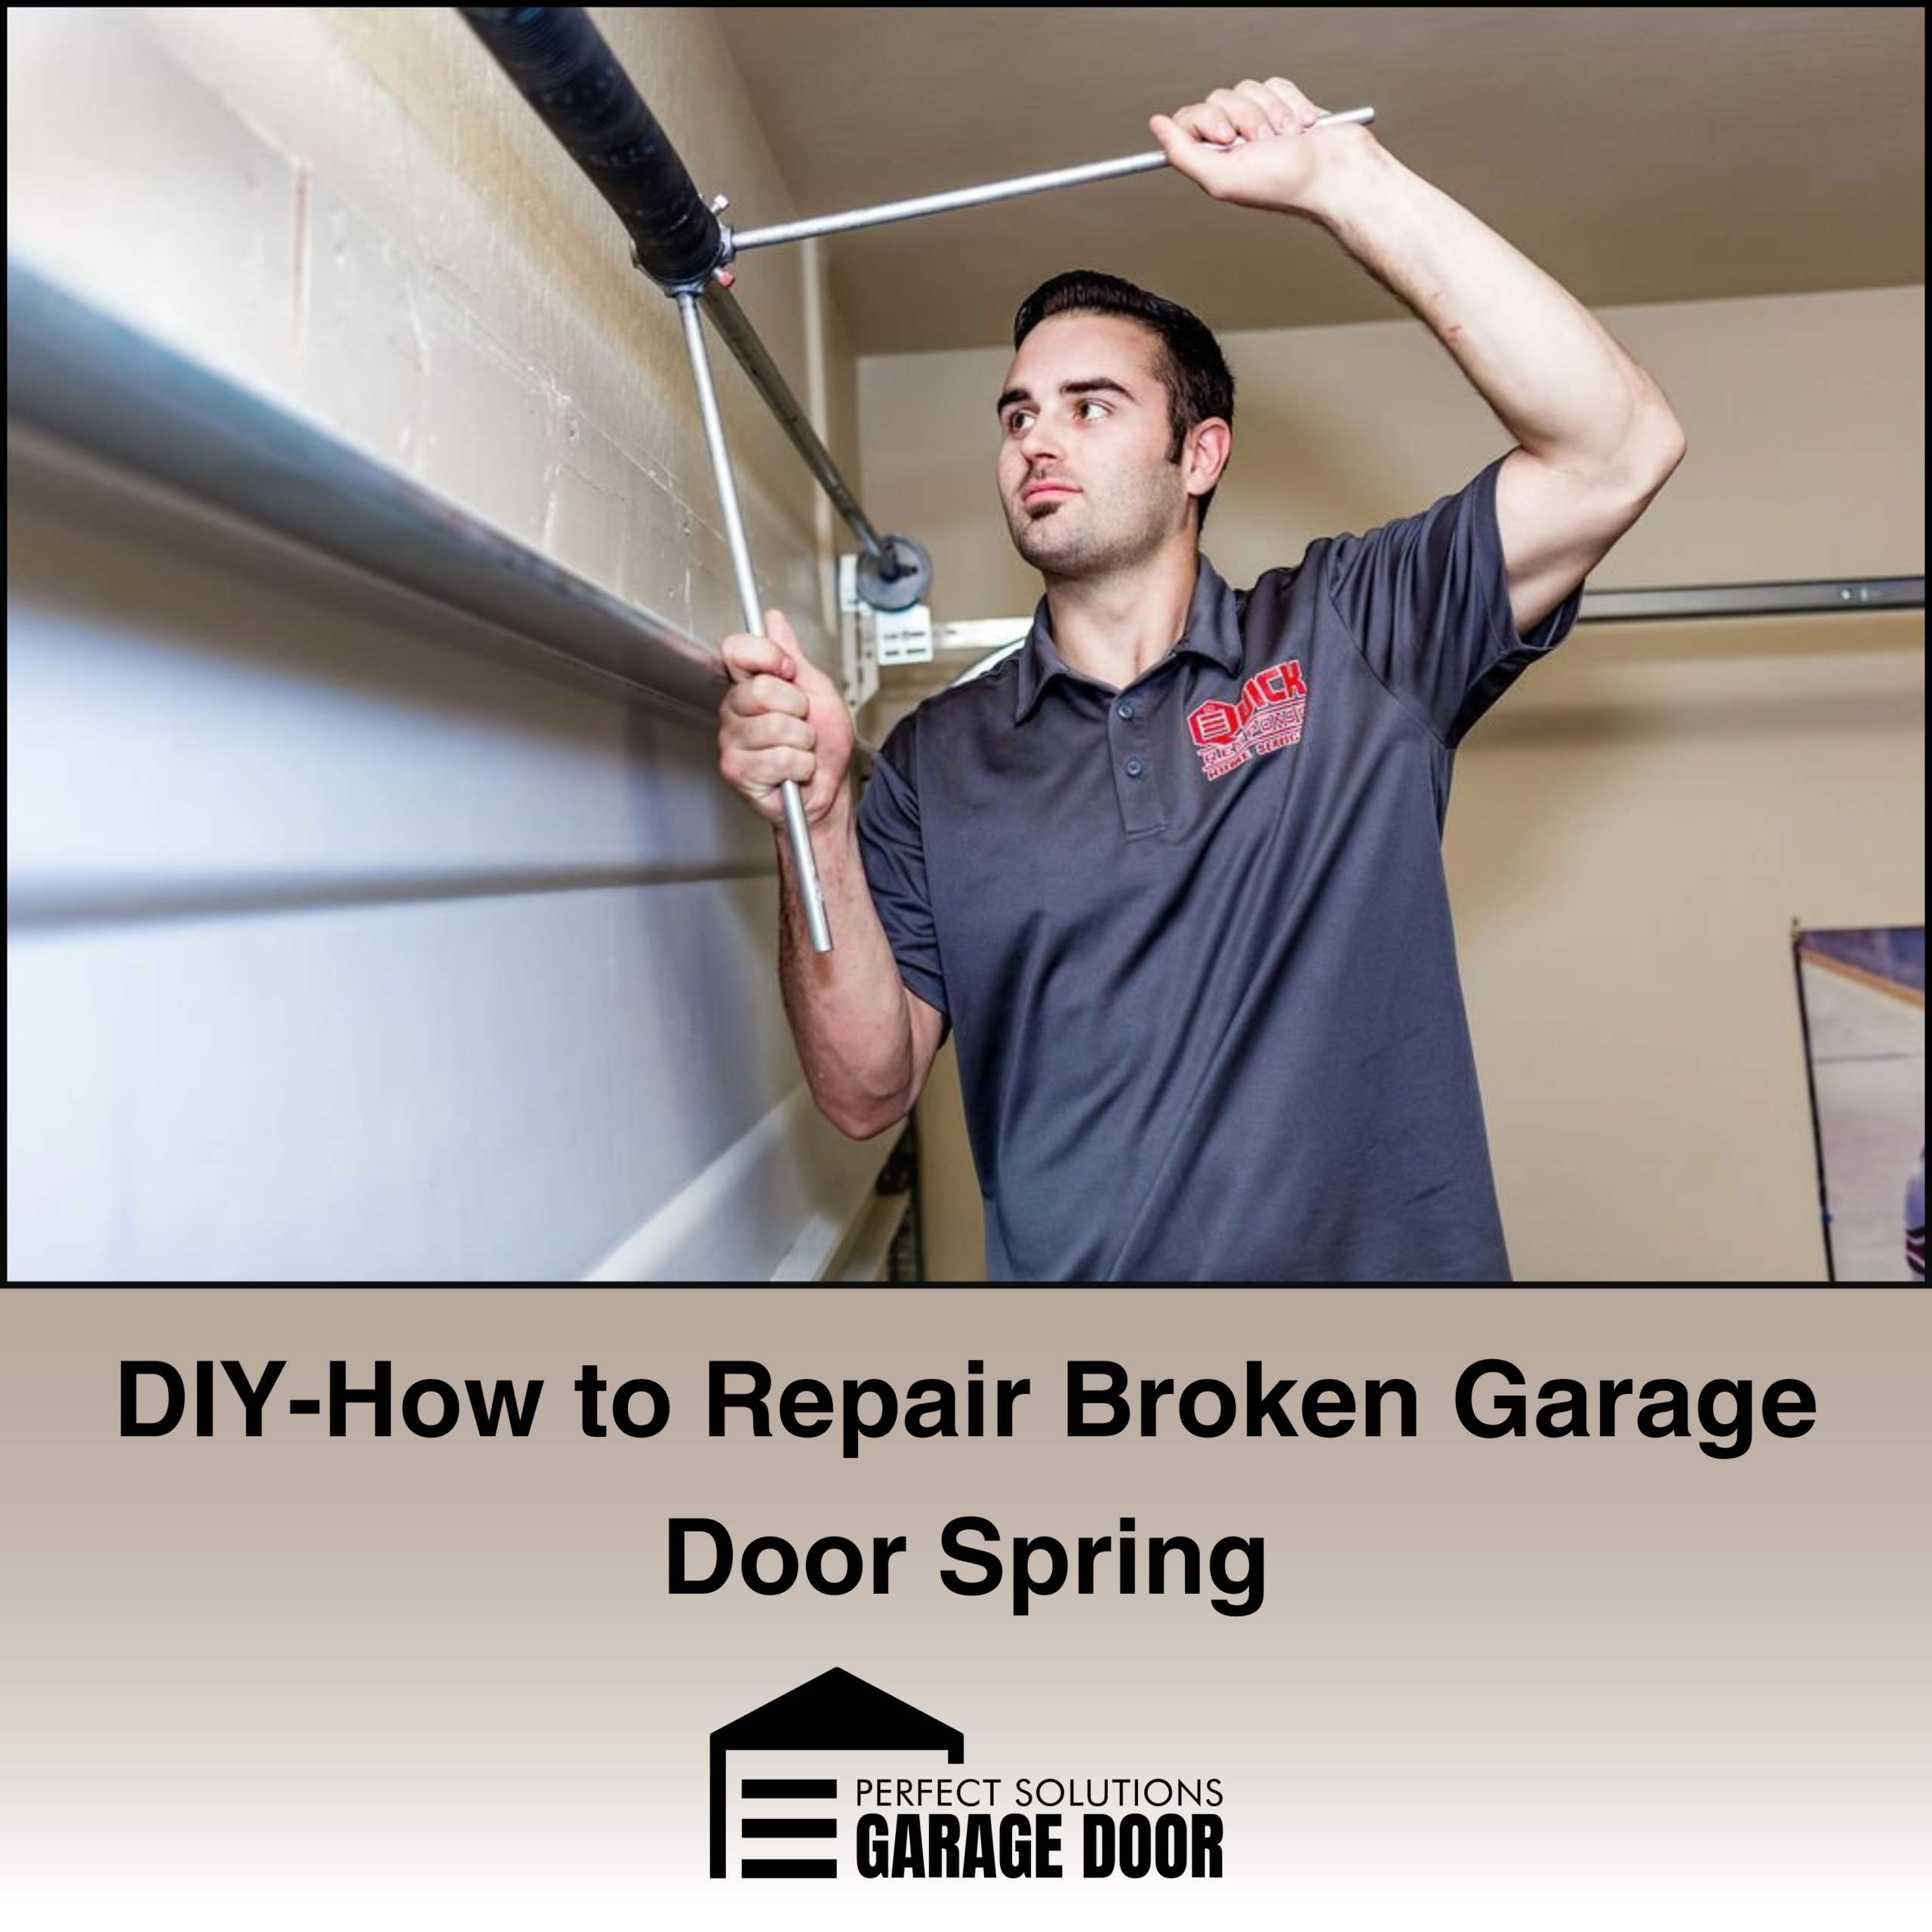
DIY-How to Repair Broken Garage Door Spring
Garage door springs are an essential component of your garage door system, helping to support the weight of the door and enable it to open and close smoothly. However, over time, garage door springs can wear out or break, causing your garage door to malfunction. While it’s always recommended to seek professional help for garage door spring repairs, there are some instances where you may be able to tackle the job yourself. Here is a step-by-step guide on how to repair broken garage springs:
Step 1: Identify the Problem
The first step is to determine if your garage door spring is broken. Common signs of a broken spring include the door not opening or closing properly, a loud snapping or banging noise when the door is in motion, or visible damage to the spring itself.
Step 2: Gather the Necessary Tools
Before you begin the repair, make sure you have all the necessary tools and materials on hand. You will likely need a pair of winding bars, a socket wrench, safety glasses, and replacement springs that are the correct size and type for your garage door.
Step 3: Release Tension on the Springs
To safely repair a broken garage spring, you must release the tension on the springs first. This can be done by opening the door fully and securing it in place with a clamp or vice grip. Use the winding bars to slowly unwind the tension from the springs until they are completely relaxed.
Step 4: Remove the Broken Spring
Once the tension is released, carefully remove the broken spring from the garage door. Be sure to follow proper safety precautions and wear protective gear to prevent injury.
Step 5: Install the New Spring
Next, install the new spring by following the manufacturer’s instructions and ensuring that it is properly aligned and secured. It’s important to use the correct type and size of spring for your specific garage door system to avoid further damage or safety hazards.
Step 6: Re-tension the Springs
After the new spring is installed, use the winding bars to re-tension the springs to the appropriate level. This step requires caution and precision to ensure that the tension is evenly distributed and the door operates smoothly.
Step 7: Test the Door
Once the repair is complete, test the garage door to ensure that it opens and closes properly without any issues. If you encounter any problems or the door does not function correctly, seek professional help immediately.
While DIY garage door spring repairs can be a cost-effective option, it’s important to prioritize safety and follow proper procedures to avoid accidents or further damage to your garage.


